By Ted Lenzie
As spring arrives, mountain snowpack begins to melt, causing rivers and streams to run deep, cold, and fast. As an outdoor instructor and guide, I have spent years teaching groups to respect these seasonal changes. Between March and early July, the volume of water in the backcountry can change rapidly, making water crossings one of the most technical skills a hiker must master.
Understanding river dynamics and group techniques is not just about getting to the other side—it’s about making an informed “Go or No Go” decision.
Planning and Group Dynamics
Safety begins during the route-planning phase. Identify the river’s size and determine how it is fed.
- Definitions: A stream is typically seasonal and lower in volume, while a river maintains significant flow year-round and may even be controlled by man-made dams. This means a river’s flow can change based on human intervention, regardless of local rain.
- The “Six-Foot” Rule: During the trailhead talk, remind the group that physical ability varies. A hiker over six feet tall can hop from rock to rock that a person five feet tall cannot reach.
- Team: Everyone must wait for the leader; do not let individuals rush forward to find their own routes.
- Communication: Rivers are loud. Establish clear commands before entering. Remind the group to keep “chatter” to a minimum so everyone can hear safety instructions over the roar of the water.
Reading the Water: River Dynamics
Choosing a crossing location is a matter of reading the river’s “body language.”
- Eddy Currents: These are reverse currents caused by an object in the flow. While they can be a sanctuary for a resting swimmer, a very strong eddy can trap you behind a rock and be difficult to exit.
- River Bends: In a bend, the outside of the turn is deeper and faster with steep, undercut walls. Aim for the inside of the turn, where the current is slower and the water is shallower.
- Islands: Never assume the second half of a crossing is the same as the first. An island may funnel water into a chute—a narrowing where speed and pressure increase significantly. Scout the entire crossing before stepping in.
- Bed Surfaces: Gravel is the most stable. Be extremely cautious of mud and sand, which can create a suction that holds your footwear in place, making it impossible to step forward against the current. Large rocks can also move, trapping a foot.
Specialized Hazards
- Strainers (Downed Trees): A fallen tree in moving water is lethal. Water flows through the branches, but people and gear get pinned. If you fall upstream from a tree, the current will “strain” you through the branches. In even moderately strong water, this is almost impossible to escape.
- Snow Bridges: If you must cross a spring snow bridge, probe it with a pole for density. Instructor Tip: Hold your arms out to your sides. If the snow collapses, your arms may catch the surface and prevent you from falling all the way into the torrent below. Cross in the cool morning when the snow is most stable.
Crossing Techniques: The Mutual Support Method
If you decide to cross, use the power of the group. Bare feet are never an option. Cutting your foot on glass, rocks, or fishing hooks will end your trip and likely require an evacuation. Practicing on dry land is important before entering the water. Understanding the movements required and the commands should take place before entering the water.
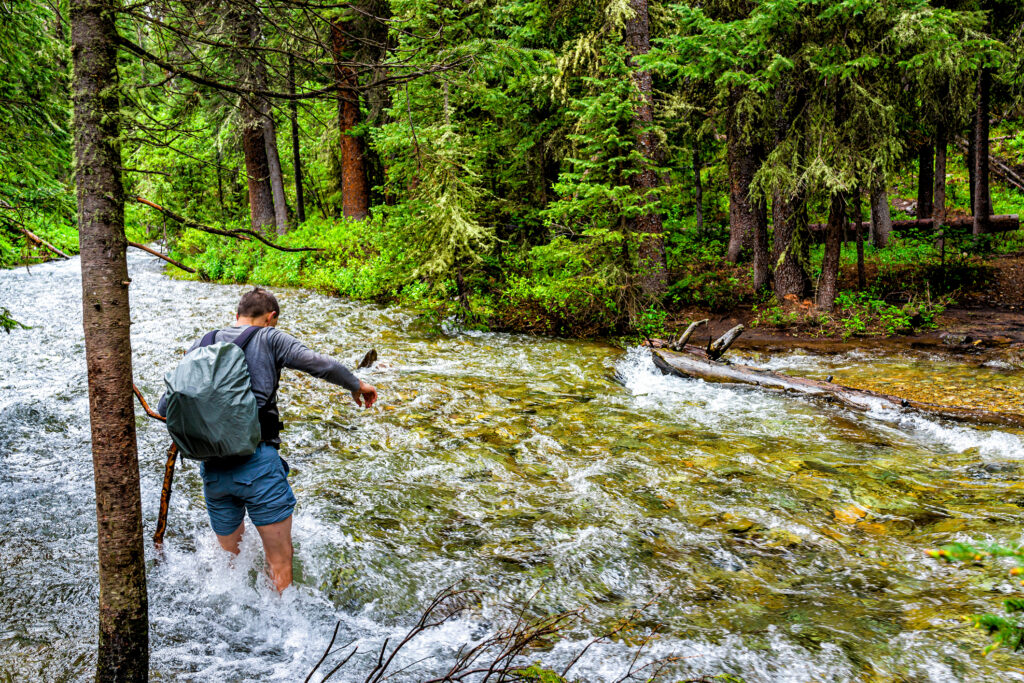
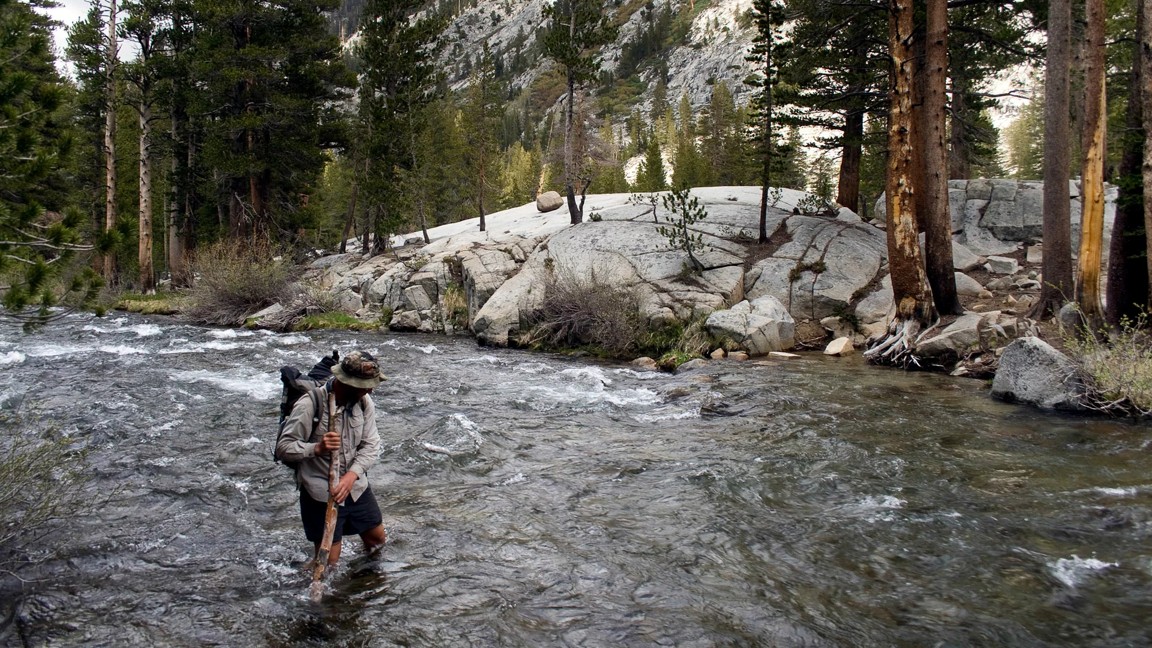
Solo Crossing: Face upstream with a pole in hand. Lean into the pole as a “third leg.” Move only one point of contact at a time, stepping slightly downstream.
Photo credit https://www.pcta.org/discover-the-trail/backcountry-basics/water/stream-crossing-safety/
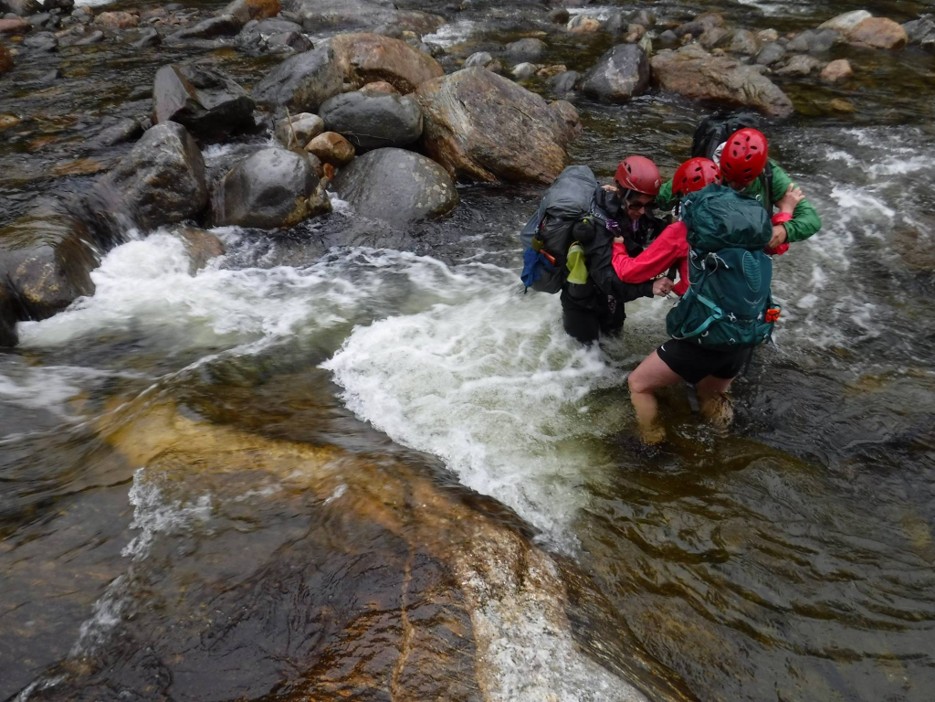
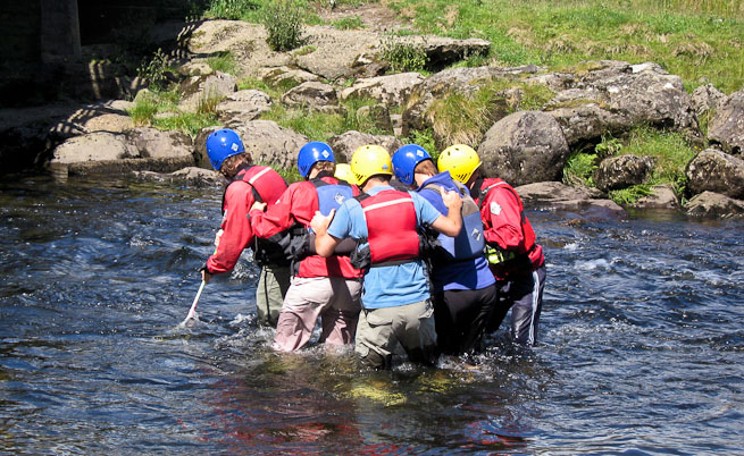
Line Abreast: Hikers stand shoulder-to-shoulder, locking arms to support each other as a single unit.
Photo credit https://www.nps.gov/articles/safe-river-crossings.htm
The Wheel: For 3 or 4 people, lock arms in a circle. Like a three-legged stool, it is incredibly stable because multiple points of contact support each other.
Photo credit https://redlineguiding.com/education/river-crossing-skills/
The Wedge: A triangular formation with the leader at the point giving step commands.
Photo credit https://frontierbushcraft.com/2012/08/28/how-to-wade-across-a-river-2/wading-wedge-for-crossing-a-river/
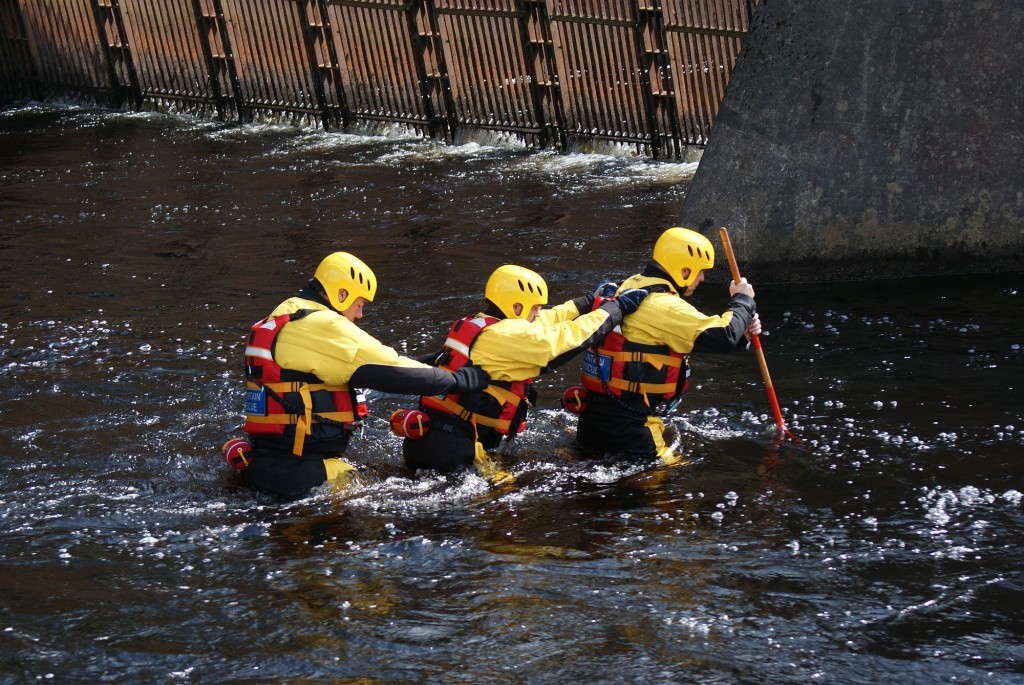
Line Astern: A single-file line with the strongest person upstream to break the current. Everyone holds the pack straps of the person in front.
Photo credit https://www.flickr.com/photos/gerald-davison/3474196294
Emergency Readiness: Backpack Buckles
The most critical adjustment you can make before entering deep water involves your gear. If water is above your knees, unbuckle your hip and chest straps. In the event of a fall, a floating backpack can act as a buoy, pinning your face underwater or making it impossible to roll over and swim. You must be able to ditch your pack instantly if you lose your footing. While losing gear is unfortunate, maintaining your ability to breathe and swim is the absolute priority.
The Psychology of a “No Go”
If a participant is experiencing vertigo or a “gut feeling” that they aren’t strong enough, listen to that data. A person who is not confident is at high risk of “freezing” mid-stream. Practice on dry land first. If the group cannot cross safely and rationally, turning back is the only professional choice.

Watch this video for a visual breakdown of these techniques.
With all these obstacles and dangers, how do we cross safely? While these techniques provide a foundation, they all require getting your feet wet—both literally and figuratively. For this reason, I strongly recommend seeking out formal, hands-on practice. Getting professional instruction and practicing these techniques on dry land before attempting them in the backcountry is the best way to build the necessary skills and confidence.
Why Wilderness First Aid (WFA) and CPR are Essential
A river crossing doesn’t end on the opposite bank. As an instructor, I emphasize that the risks don’t just include cold water; they include significant trauma. A slip in a fast current can lead to a head injury from a fall, a twisted ankle, or even impalement from submerged branches.
In a worst-case scenario, such as a submersion or drowning incident, CPR training becomes your most critical tool. In a backcountry setting where professional help is hours or days away, a Wilderness First Aid course is the gold standard. It teaches you how to manage these life-threatening emergencies and stabilize injuries, moving you from a state of reaction to a state of competence.
About the Author
Ted Lenzie is a veteran ski patroller, guide, and outdoor educator with years of experience in wilderness navigation, rescue, and backcountry leadership. He believes every trip is a learning opportunity—and that preparation, communication, and adaptability are the keys to staying safe outdoors.