
By Ted Lenzie
Twenty minutes into a climb, your legs feel heavy, your head starts to throb, and your thinking gets fuzzy. Is it the altitude? Low blood sugar? Or is it something simpler — and more preventable — than either?
Dehydration and poor nutrition are two of the most common, and most overlooked, causes of a bad day in the backcountry. At home, skipping a glass of water or a meal is a minor inconvenience. Out on trail, under exertion, at altitude, or in the cold, the same lapses can snowball into fatigue, disorientation, and headaches — symptoms that mimic altitude sickness closely enough that the two are often confused for one another. Left unmanaged, dehydration doesn’t just ruin your mood and your sleep; in extreme cases, it becomes a genuine medical emergency.
The good news is that both problems are almost entirely preventable with a little planning. Here’s what two decades of guiding trips has taught me about staying properly fueled and hydrated in the backcountry — plus a breakfast recipe that’s fed me on the trail for years.
Hydration
How Much Is Enough?
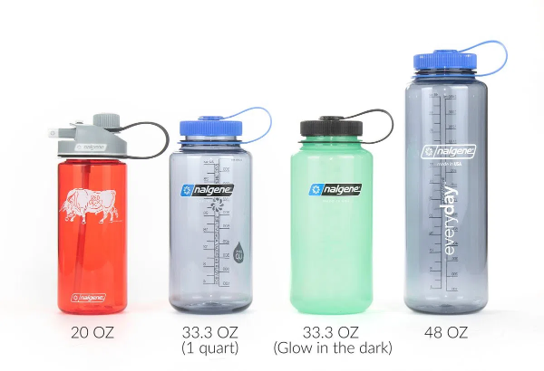
Two quarts is a reasonable baseline for a day outing, but your actual needs will vary. Difficulty, exertion level, trip length, altitude, terrain, and warmer weather all push your requirements up. Counterintuitively, winter is a high-risk season too — we simply tend to drink less when it’s cold, and dehydration can sneak up on us as a result. As you build experience with your own needs under different conditions, it’s smart to carry a little extra water until you’ve got it dialed in.
How We Lose Water Without Noticing
Water loss happens in more ways than most people expect. We lose it through perspiration during activity, though moisture-wicking fabrics can mask the signs. We also lose a surprising amount just by breathing — in winter, you can actually watch it leave your body as vapor with every breath. Starting a trip already under-hydrated compounds the problem, and cold-weather habits make it worse: we drink less, and our water containers may freeze, cutting off access altogether just when we need it.
Alcohol and heavy caffeine use are both diuretics, meaning they can cause you to lose more fluid through urination than you take in. Over-hydrating has the same effect in reverse — drink more than your body can absorb (roughly a half-liter per hour for most people) and you’ll simply urinate the excess away, potentially leaving you short later in the day.
Urine color and frequency remain the best gut-check for hydration status. Dark yellow or orange signals you need more fluids (though note that some vitamins can temporarily darken urine regardless of hydration). Nearly clear urine can indicate over-hydration. Straw-colored and light yellow is the sweet spot.
Making Water on the Go
Treat all water from streams and lakes as contaminated until you’ve treated it. A filter is worth carrying even for day trips — I bring a LifeStraw and have used it more than once on outings where I underestimated my needs. I also carry water purification tablets, specifically chlorine dioxide rather than iodine, since some people are allergic to iodine. I keep them in my first-aid kit, where they double as a way to disinfect water for flushing wounds.
In winter, you can make water from snow, but you need starter water to do it — otherwise you’re just left with a bottle full of unmelted snow. Keep the bottle inside your jacket so your body heat can melt it as you move, and treat it with a tablet or filter if the snow is questionable. Dark-colored bottles absorb heat more efficiently. Bladder tubes are especially prone to freezing; insulate them, and after drinking, blow the water back into the bladder so the tube holds mostly air (it may still freeze in spots, but this helps).
Tricks for Staying Hydrated
- Drink water on the way to the trailhead, and use the bathroom before you set out — this matters most in groups, where the inconvenience of a bio-break can quietly discourage people from drinking enough.
- Try a sports drink powder. Beyond the electrolytes and calories, the flavor alone motivates some people to drink more than plain water would.
- Leave water in the car for when you return.
- If you’re leading a trip, call a 10–15 minute break every hour and use it as a standing reminder: eat, drink, apply sunscreen, take a bio-break. A 10-minute warning before lunch wraps up gives people a last chance to use it.
No one enjoys a trip leader who just shoulders their pack and walks off without warning — build the reminder into your rhythm as a leader, and your group will thank you for it.
Nutrition
Skipping a meal at home is a minor inconvenience. Skipping one in the backcountry can seriously undercut your performance and turn a good day miserable. Traveling with others, low blood sugar can cause you to lag behind — and depending on how far it drops, it can bring on disorientation, which raises the odds of an accident. For some people, letting blood sugar fall too far isn’t just uncomfortable; it can be dangerous.
How Much Is Enough?
As a baseline, most people need 2,000–2,500 calories a day just to maintain normal function. Cold temperatures push that number up to stay warm, and so does exertion — climbing, carrying a loaded pack, breaking trail through snow, or traveling cross-country. Experience will teach you your own numbers, but a solid starting rhythm is: a snack at the trailhead, another every hour on trail, lunch, and a recovery snack when you return to camp. Always keep extra food in your pack — it’s one of the Ten Essentials. (See Mountaineering: Freedom of the Hills for more — Edition 9, chapter 2 page 35 and 38)
What Should You Actually Eat?
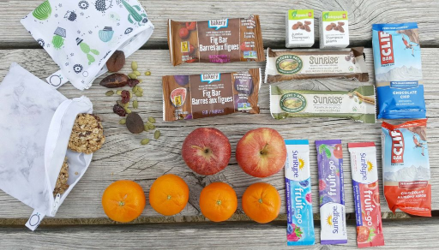
The honest answer is: whatever works for your body and your experience level. If you have dietary requirements or restrictions, think through how they’ll play out over the course of the outing. Some people do best on high-tech trail food — bars, gels, chewable gummies. Others prefer whole, natural foods. Plenty of people are happy to eat almost anything.
What you pack should come down to what you’ll actually eat. High-energy food you don’t enjoy tends to go untouched. Favor food that holds up: things that won’t freeze solid on cold days (a frozen energy bar or piece of fruit is nobody’s idea of a good snack), won’t turn to dust in your pack (crumbly crackers), and won’t melt into a mess in warm weather (chocolate). Beyond that, it’s trial and error — watch what other experienced people bring, and try what looks appealing for the kind of trip you’re on. Whatever you settle on, pack a little more than you think you’ll need.
Five Easy, Cost-Effective Backcountry Breakfasts in One
I guided for 20 years, and during that time I was responsible for designing every meal my clients ate — creating the recipes, buying the ingredients, repackaging everything, and fitting it all into bear canisters. Every meal had to satisfy three constraints: cost (no more than $12 per person per day, on par with a single commercial dehydrated meal), versatility, and — above all — taste. That’s no small feat when you’re guiding up to 12 people with very different preferences.
My solution was to build one base meal that could be reshaped just by swapping a few ingredients, so it felt different every time it showed up. Here’s the foundation: not instant oatmeal packets, but a simple, homemade version you can customize endlessly.
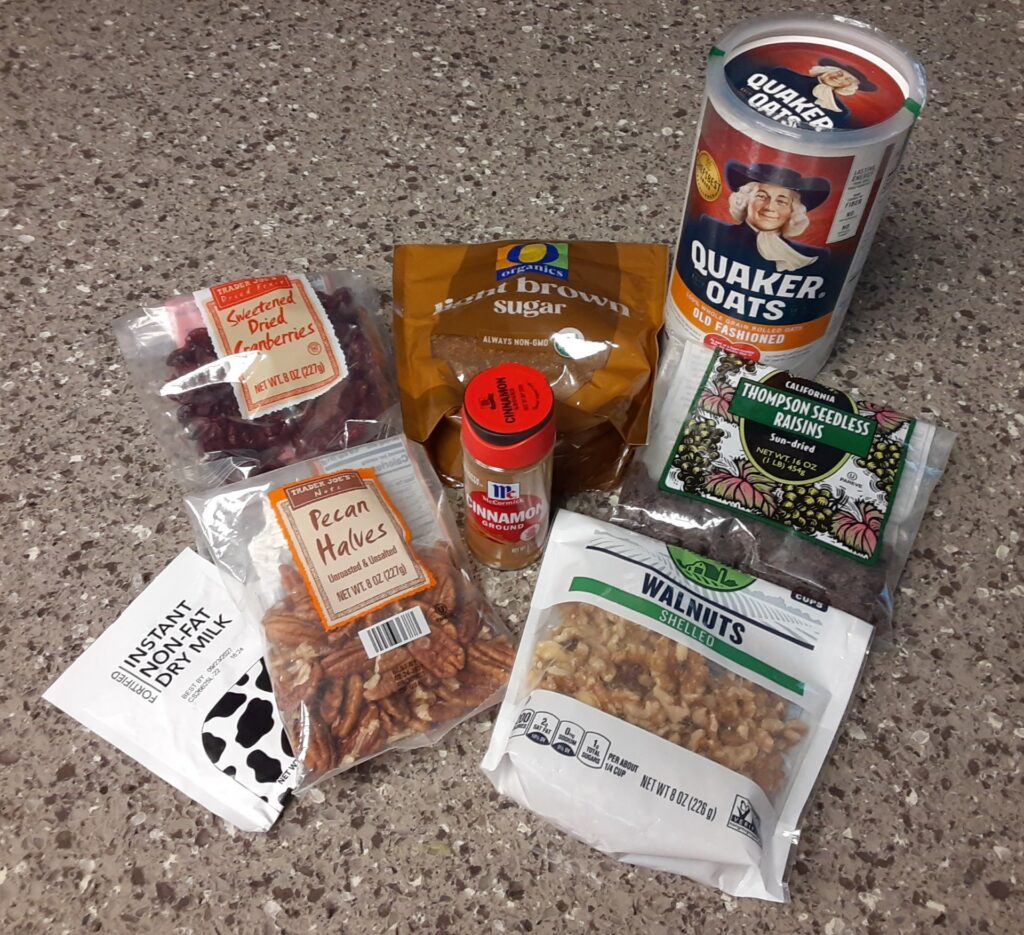
Ingredients (one serving)
- 1/2 cup old-fashioned oats (whole grain)
- 1 tablespoon dried cranberries
- 1 tablespoon raisins
- 1 tablespoon brown sugar
- 2 tablespoons pecans or walnuts
- 1/2 teaspoon cinnamon
- 1 tablespoon powdered milk (or plant-based equivalent)
- 3/4 cup water, just brought to a boil (to save stove fuel)
- Salt to taste
Instructions
Boil the water. While it heats, combine the remaining ingredients in your serving bowl and mix thoroughly, breaking up any clumps of brown sugar, raisins, and cranberries. Once the water boils, pour it into the bowl and stir gently until everything is fully hydrated. Serve hot.
To save time on trail, pre-portion each day’s ingredients at home into one reusable container per day.
Make It Your Own
This dish is built to be modified. Swap the oats for any other instant grain — couscous, rice, cream of wheat, granola, even grits — just check the package for serving size and water ratio. Swap the nuts for any variety you like, and trade the raisins and cranberries for dried blueberries or other dried fruit.
At roughly $2.00 per serving (based on the oatmeal version — swaps may shift the price slightly), and about 14 servings from an 18-ounce container of oats, this is about as cost-effective as backcountry breakfasts get.
On a personal note: I eat this same breakfast every single day while backpacking. I pre-portion all my servings into one bag before a trip, adding 20 percent extra for days I eat more than usual. On the JMT, I learned the hard way that my oatmeal was running out faster than planned — the constant bouncing of hiking had gradually ground it into a finer, more compact form, so I was losing volume without realizing it. Now, on longer trips, I add another 10 percent to account for that.
Whatever combination you land on, test it at home first. It’s almost always easier to troubleshoot a recipe in your kitchen than on trail — and if it comes together well at home, it’ll almost certainly hold up in the backcountry too.
About the Author
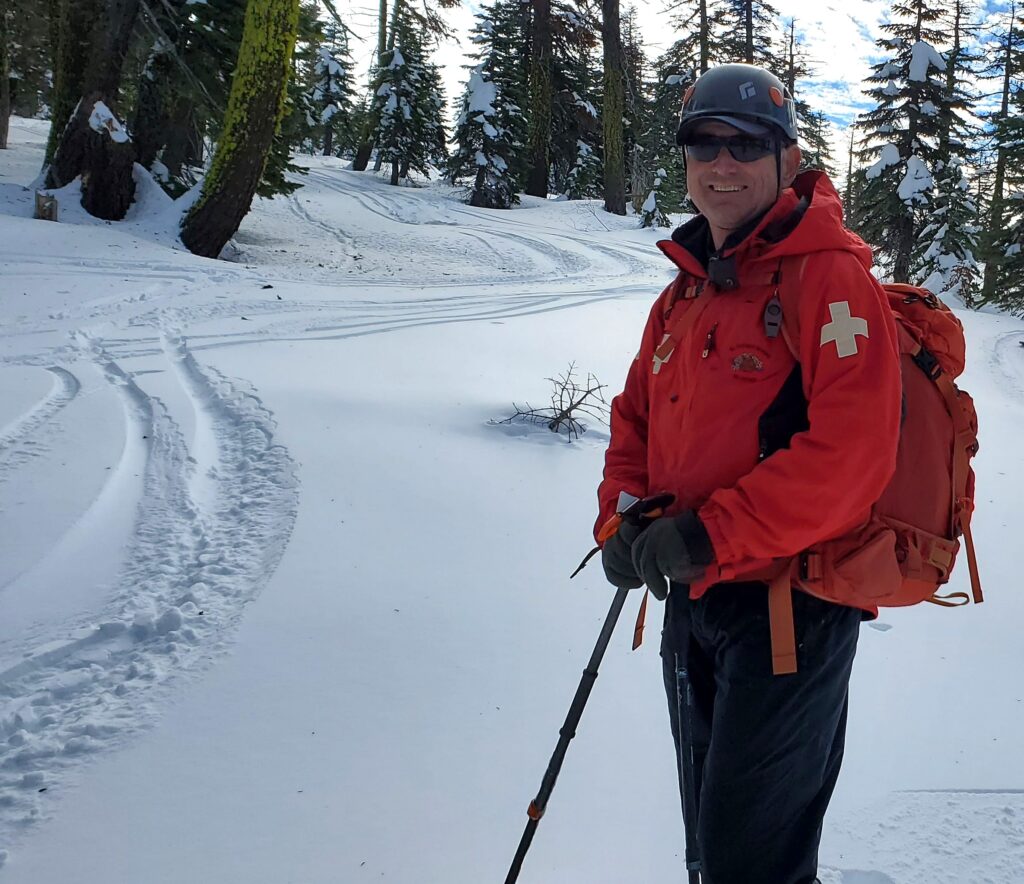
Ted Lenzie is a veteran ski patroller, guide, and outdoor educator with years of experience in wilderness navigation, rescue, and backcountry leadership. He believes every trip is a learning opportunity—and that preparation, communication, and adaptability are the keys to staying safe outdoors.